 |
| No. 11 plays uphill off the tee around or over a protruding fairway bunker. The approach plays into a huge, compartmentalized green. |
 |
| The 12th is an "S" shaped par five that begs you to carry more from the tee to gain visibility on the next, and again on the second shot to shorten the approach. |
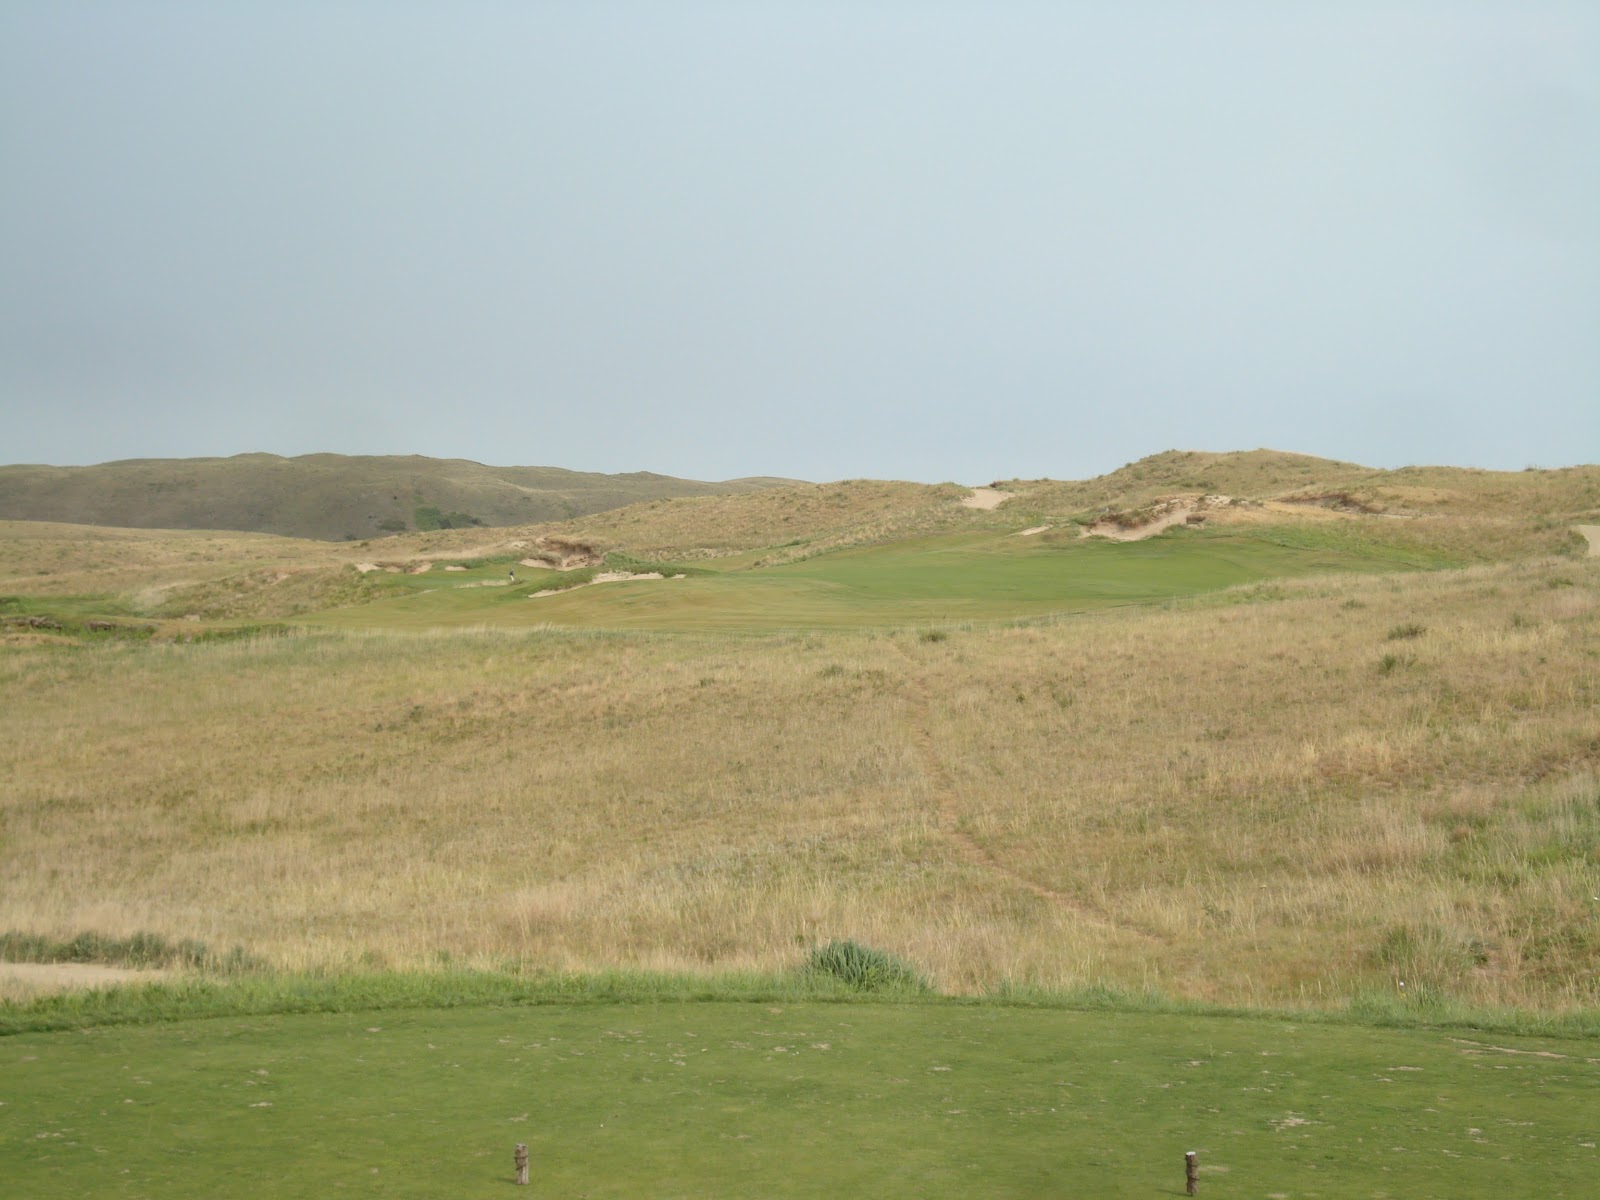 |
| The 13th plays between the fairway bunkers, but should challenge that on the left to avoid a blind approach. |
 |
| The deep chasm short of the 13th green is not visible from the right side of the fairway. The pronounced bank right of the green is best approached from the left and a good target for those rightly fearing a miss left. |
 |
| The 14th is another hole that garners much debate as a healthy percentage of drives end up in a similar spot due to the sloped nature of the fairway. Approaches into the green from hanging lies are very difficult to control, leading to difficult up and downs from either the bunkers right or bail-out zone left. |
 |
| Another strong Sandhills one-shotter, the 15th sits comfortably within a little valley. |
 |
| An excellent driving hole, the mound straight ahead left of the fairway bunkers can either push well struck drives into the middle of the fairway, or repel more timid strokes away from the green resulting in a completely blind approach. |
 |
| No. 17 features a diagonal hazard on the inside of the dogleg asking golfers to choose how much of a carry they can handle. |
 |
| The final hole features an exposed tee high on a dune where the drive must avoid the waste area left. A lower tee plays over the waste area more diagonally, and can be easily accessed by foot. Once in the fairway, it is all uphill to a shallow green with plenty on contour to complicate the last putts of the day. |
No comments:
Post a Comment